- Email: [email protected]
- Call / WhatsApp Us: +91 70650 40985

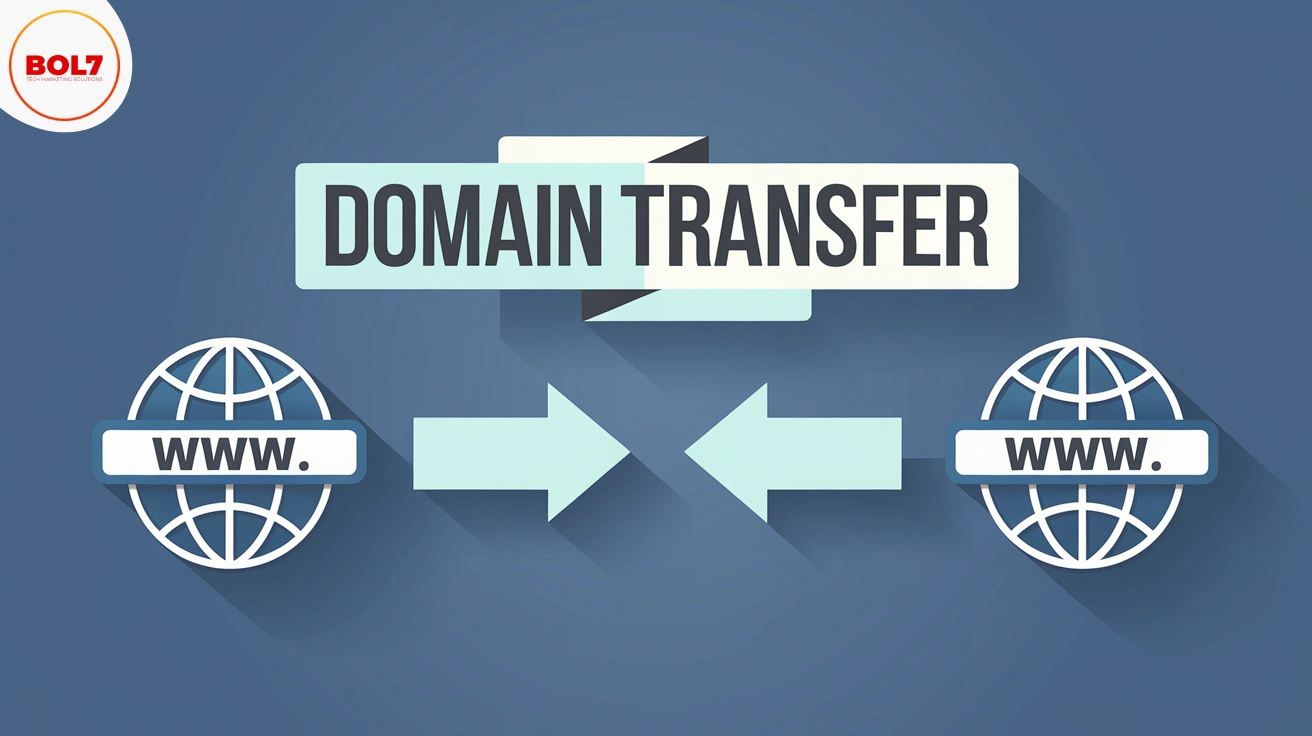
How to Transfer a Domain from ResellerClub to GoDaddy
Step-by-Step Guide to Transfer Your Domain
Step 1: Initiate the Transfer at GoDaddy
1. Log In or Create an Account
-
Go to the GoDaddy website and sign in. If you don’t have an account, you’ll need to create one to begin the transfer process.
2. Navigate to the Transfer Section
-
Head to the “Transfer Domains” section. You can usually find this under the main menu or through a search on the site.
3. Enter Your Domain Name
-
Type in the domain name you wish to transfer from ResellerClub and click “Continue.”
4. Enter the Authorization Code (EPP Code)
-
When prompted, enter the authorization code you received from ResellerClub. This code is necessary to validate the transfer.
Tip: You can find the EPP code in your ResellerClub account’s domain management settings.
Step 2: Complete the Purchase
-
GoDaddy will guide you through the transfer process. You may need to pay for an additional year of registration, which extends your domain’s expiration date. Follow the prompts to add the domain to your cart and complete the purchase.
Step 3: Approve the Transfer
1. Check for Email Notifications
-
You will receive emails from GoDaddy (and possibly ResellerClub) asking you to confirm the transfer. These emails are sent to the administrative contact email address associated with your domain.
2. Approve the Transfer
-
Follow the instructions in the emails to approve the transfer. This step is crucial to ensure the process moves forward smoothly.
Step 4: Wait for the Transfer to Complete
-
The domain transfer process usually takes a few days. You can monitor the status in your GoDaddy account. If there are any delays, rest assured that this is a standard part of the process.
Step 5: Check Your Domain Settings
1. Verify Your Domain
-
Once the transfer is complete, log in to your GoDaddy account to confirm that your domain has been successfully transferred.
2. Update DNS Settings
-
Check and configure your DNS settings as needed to ensure your website and email services work correctly.
Important Notes to Remember
-
Email Address: Make sure the email address linked to your domain is current, as you’ll receive important transfer notifications there.
-
Time Frame: Transfers typically take a few days to complete, so be patient and keep an eye on your email for updates.
Final Thoughts
Transferring your domain from ResellerClub to GoDaddy doesn’t have to be complicated. By following these steps and ensuring all your information is up-to-date, you can complete the transfer seamlessly. Once the domain is successfully transferred, take a moment to review your settings and make any necessary adjustments to keep your site running smoothly.
--------------------------------------------------------------------------------------------------------------------------------------
How to Transfer a Domain from ResellerClub to Namecheap
Step-by-Step Guide to Transfer Your Domain
Step 1: Initiate the Transfer at Namecheap
1. Go to Namecheap and Log In
-
Visit the Namecheap website and sign in to your account. If you’re new to Namecheap, create an account to get started.
2. Navigate to the Domain Transfer Section
-
In the main menu, look for the domain transfer option. Enter your domain name and click “Transfer.”
3. Enter the EPP Code
-
You’ll need an EPP code (or authorization code) from ResellerClub. Enter this code when prompted. The EPP code is essential for verifying that you have the right to transfer the domain.
Tip: To get your EPP code, log in to your ResellerClub account and navigate to your domain management settings.
4. Add Domain to Cart and Checkout
- Once you’ve entered the EPP code, add the domain to your cart and proceed to checkout. You may need to pay for an extra year of domain registration, which extends your domain’s expiration date.
Step 2: Confirm the Transfer
1. Check Your Email for Confirmation
-
Namecheap will send a confirmation email to the administrative contact associated with your domain. Open the email and click on the link to approve the transfer.
2. Wait for the Transfer to Complete
-
The transfer process can take up to 7 days. During this time, you can track the status of your transfer in your Namecheap account. Patience is key, as domain transfers involve coordination between registrars.
Note: Make sure your email address is up-to-date in your domain’s WHOIS information to receive all transfer-related communications.
Step 3: Post-Transfer Management
1. Review Domain Settings
-
Once the transfer is complete, log in to your Namecheap account and review your domain settings. Double-check details like WHOIS information, DNS settings, and make sure to re-lock the domain for security.
2. Set Up DNS Configuration
- If you had custom DNS settings with ResellerClub, configure those in Namecheap. This step ensures that your website, email, and other domain-related services function correctly.
Important Things to Remember
-
Update Your Contact Information: Make sure the email associated with your domain is accurate to receive important transfer notifications.
-
Free WHOIS Privacy Protection: Protect your personal information with Namecheap’s free WHOIS privacy feature, keeping your data secure.
Common Questions About Domain Transfers
1. How long does a domain transfer take?
The transfer can take up to 7 days, depending on how quickly both registrars process the request.
2. Will my website experience downtime during the transfer?
Typically, there’s no downtime if your DNS settings remain unchanged. However, it’s always good to monitor your website during the transfer process.
3. Can I transfer a domain that’s about to expire?
Yes, but it’s best to start the transfer process well before the expiration date to avoid any complications.
Final Thoughts
Transferring a domain from ResellerClub to Namecheap is a straightforward process if you follow these steps carefully. Namecheap’s user-friendly interface and excellent support make it a popular choice for domain owners. After the transfer is complete, take a few moments to verify your settings and enjoy the benefits of seamless domain management.
"Domain transfers can be simple with the right guide. By understanding the key steps and following our instructions, you can transfer your domain from ResellerClub to either GoDaddy or Namecheap smoothly, gaining access to advanced domain management features."
Blog Comments (0)
Leave a Reply
Categories
Recent Post

Popular Categories
Related Blogs & Article

Discover the top B2B database providers and learn how their features, including real-time data verification, advanced segmentation, and CRM integration, can boost your lead generation and sales success.

Bulk Voice Broadcaster is a powerful bulk voice call service offering pre-recorded voice messages, sim-based calling, and DTMF reporting to enhance business communication and marketing efforts.
Bulk voice call software helps businesses send automated voice messages to large audiences efficiently. Learn about its benefits, features, and how to choose the right provider.

Discover how an AI WhatsApp chatbot can revolutionize business communication. Automate responses, enhance customer engagement, and integrate with CRM tools for seamless support.
Unlock the power of RCS messaging for your business. Enhance customer engagement with rich media, interactive buttons, and verified sender IDs. Learn how RCS can drive conversions and improve trust.

This complete guide walks businesses through the WhatsApp Business API onboarding process, detailing key steps, pricing, and best practices for successful setup and integration.

Learn how the WhatsApp Business Management API simplifies managing accounts, phone numbers, and templates. Explore its features, benefits, and integration process for optimized business communication.

The WhatsApp Business Platform offers scalable, secure, and automated communication solutions for businesses. Discover its features, benefits, and step-by-step integration guide.

Sell your domain name quickly and securely with this guide. Discover proven strategies, expert tips, and trusted platforms to maximize profits and streamline the selling process effectively.


Ready To Take Your SEO To The Next Level
Effective SEO strategies not only elevate a website's visibility but also drive targeted traffic, enhance user experience.
Useful Links
Get In Touch
[email protected]
+91 70650 40985
- live:hemant_136
A-27J, Noida Sec 16, Gautam Buddha Nagar, Uttar Pradesh 201301
Stay connected & Informed
Join our WhatsApp Channel
ⓒ 2024 BOL7 All Rights Reserved


